* File > New

*Insert details of the new file

After that, I opened my scanned artwork, and resize it on my empty canvas.
*File > Open

*Select the area wanted, using the Rectangular Marquee Tool [M]
*Copy [Ctrl + C]
*Paste [Ctrl + V] it in the new file created earlier.
*Using the Transform function [Ctrl + T], resize the drawing to fill the canvas.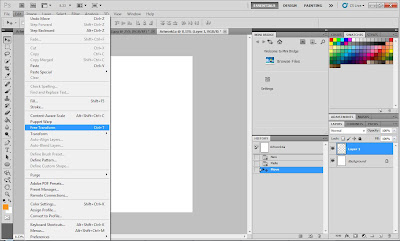

*Hold down the [Shift] key to avoid the image from being distorted.

I decided to start by tracing the outlines of my scanned sketches using the brush tool. This is done for all three of my sketches.
* Use Brush tool [B] to draw the outlines. Straight lines are drawn by holding down the [Shift] key before selecting the second point.
(Orange lines are used for clearer illustration)

*Curve lines are drawn using the Pen tool [P]. A straight line is drawn before adding points to form the path wanted.

*Stroke path is selected to apply Brush function on the path.

Here are my completed outlines for all three of my artworks:
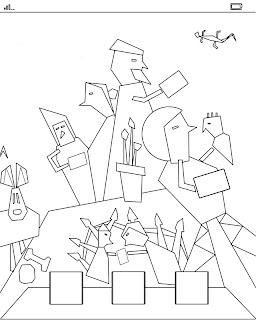 |
| In the iPad |
 |
| Overtime |
 |
| Cluttered |
No comments:
Post a Comment